How to Connect Mac to Monitor (macOS 27 Steps)
Plug the cable in and macOS does most of the work. Here is the port to use, where the mirror and extend settings live, and what to try when the monitor stays dark.
 By Daniel ShuttleworthOct 11, 2026
Plug the monitor into power, then run a cable from its video input to your Mac's Thunderbolt, USB-C or HDMI port. Your Mac should detect the screen on its own and spread your desktop across both. To change how it behaves, open the Apple menu, choose System Settings, click Displays, and use the Use as menu and the Arrange button.
There are two parts to how to connect Mac to monitor: the cable, and one pane in System Settings. The cable is where most people get stuck, because the ports on a modern Mac look alike and not all of them carry video the same way.
One thing is worth knowing before you start. Every Mac has a limit on how many external screens it can drive, and that limit depends on the model as well as on the resolution and refresh rate of each display. Apple's own route to the number is System Settings, then Help in the menu bar, then your Mac's specifications, where you look for the Display Support or Video Support section. Check it before you buy a second monitor rather than after.
How to connect Mac to monitor, step by step
1. Plug the monitor's power cable into the wall and switch the monitor on. A screen with no power reads to macOS as no screen at all, which is the most common version of "my Mac won't detect my monitor".
2. Run the video cable from the monitor into your Mac's Thunderbolt, USB-C or HDMI port. Apple's warning here is worth repeating: different ports can look similar, so identify the port rather than assuming. If the cable your monitor came with doesn't fit, you need either an adapter or a different cable, and Apple suggests the second where it is possible.
3. Wait a moment. Once the display has power and a working video connection, your Mac should find it without you doing anything and show your desktop on it.
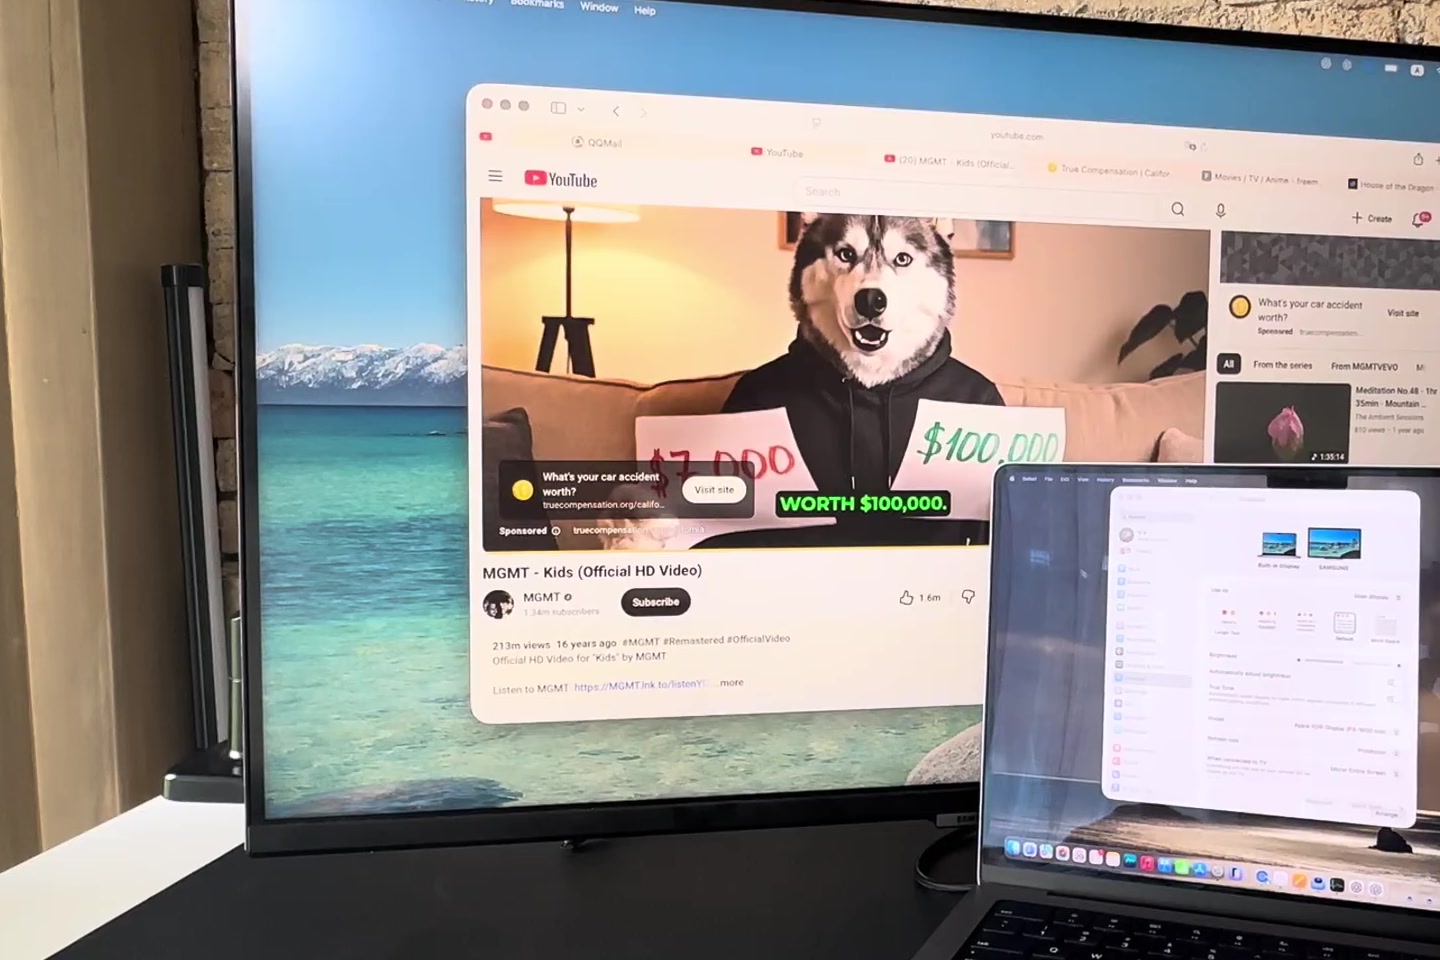
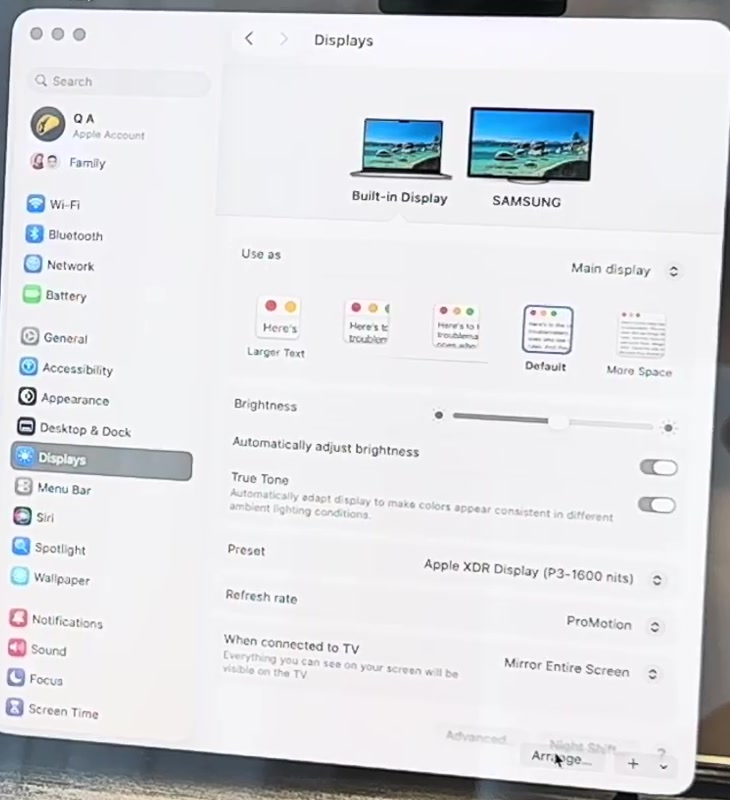
4. Open the Apple menu, choose System Settings, then click Displays in the sidebar. Everything else happens here.
Mirror, extend, or make it the main display
Select the external display at the top of the Displays pane and the Use as menu appears underneath it. That menu holds the three things people actually want: extend the desktop onto the new screen, mirror what is already on the built-in one, or promote the monitor to main display.
Main display is the one worth understanding. It is where your menu bar lives and where most apps open. On a laptop plugged into a larger screen, making the monitor the main display is usually what people mean when they say a setup finally feels right.
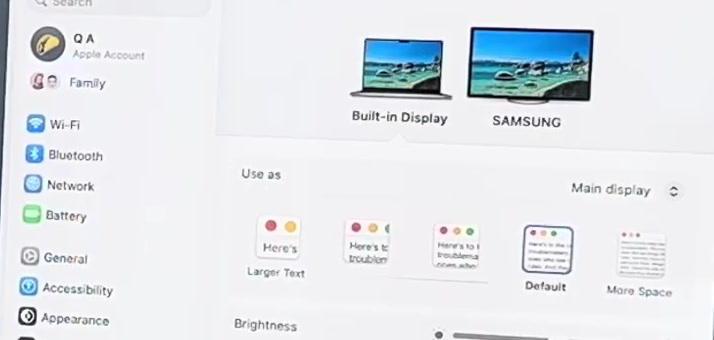
Two smaller controls sit nearby. Resolution offers a Default option plus Show all resolutions if you want to force a specific one. Refresh rate appears only when the connected monitor supports changing it. There is also an Optimize for menu, but it shows up only while you are mirroring.
Arrange the screens so the cursor goes the right way
Click Arrange at the bottom of the Displays pane and you get a small map of your screens. Drag the rectangles until the layout matches the monitors on your desk. If the external screen sits to the left in real life and to the right on this map, your pointer will leave one screen and reappear on the wrong edge of the other.
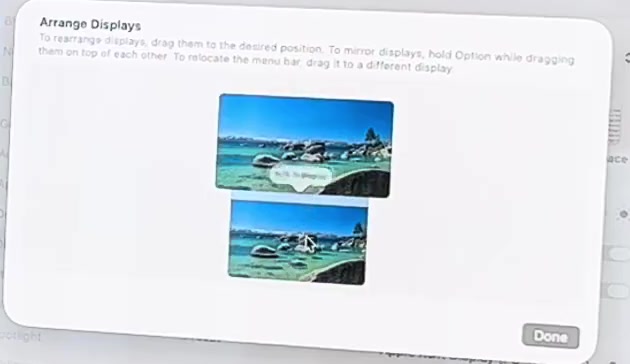
The sheet spells out the two tricks most people miss. Hold Option while dragging one display on top of another and macOS mirrors them. Drag the white menu bar from one rectangle to the other and you move the menu bar, which is the quickest way to change your main display without touching the Use as menu.
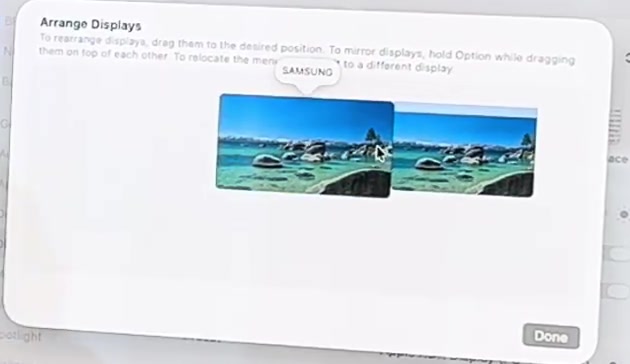
Click Done when the map matches reality. macOS remembers the arrangement for that monitor, so this is a once-per-screen job.
What this does not do
Connecting a monitor does not give the external screen its own apps or its own separate desktop. It is one desktop made wider: windows move across the boundary, and the Dock stays on whichever screen is main.
It also has nothing to do with AirPlay. The When connected to TV setting further down the same pane governs wireless mirroring to a TV, not the cable you just plugged in. The two sit a few rows apart and get confused constantly.
And closing a laptop lid is not purely cosmetic. Apple documents that a closed-lid MacBook driving an external display needs to be connected to power and to have an external keyboard and mouse or trackpad attached. On MacBook Air and MacBook Pro models with the M3 chip, Apple goes further: a second external display works only with the lid shut, and opening it drops the secondary screen.
Common questions
Does the monitor have to be an Apple one? No. Any display with a matching input works. On third-party monitors some settings live in the monitor's own on-screen menu rather than in macOS, brightness in particular.
Why does my text look soft? Try the display's native resolution rather than a scaled one. Apple notes that native is often the sharper option, and many third-party monitors also carry their own sharpness control worth checking.
Which monitor should I plug in first? If you are connecting more than one, Apple says to connect the highest-resolution display first.
If the display isn't there
Work through these in order. Reseat both ends of both cables. If the monitor is going through a hub or dock, take it out of the chain and plug it straight into the Mac. Confirm that your cable or adapter actually supports the resolution and refresh rate you are asking for, which for USB-C means DisplayPort Alt Mode, Thunderbolt 3 or Thunderbolt 4.
Then force the issue. Disconnect the display from the Mac and from power, then reconnect it. Sleep and wake the Mac; on a laptop, closing the lid for a few seconds and reopening it does the job. In System Settings then Displays, hold the Option key and the Night Shift button is replaced by Detect Displays. Click it and macOS looks again.
On an Apple silicon laptop there is one more possibility. macOS may be waiting for you to approve the display as an accessory, and until you do, the screen simply stays dark. Beyond that, restart the Mac and install any pending macOS updates, which also carry firmware for Apple displays.