How to Restore iPhone From Backup (iCloud or Mac)
An iPhone can only be restored from a backup during setup, which means erasing it first. Here is the full path for an iCloud backup and for one saved on a computer.
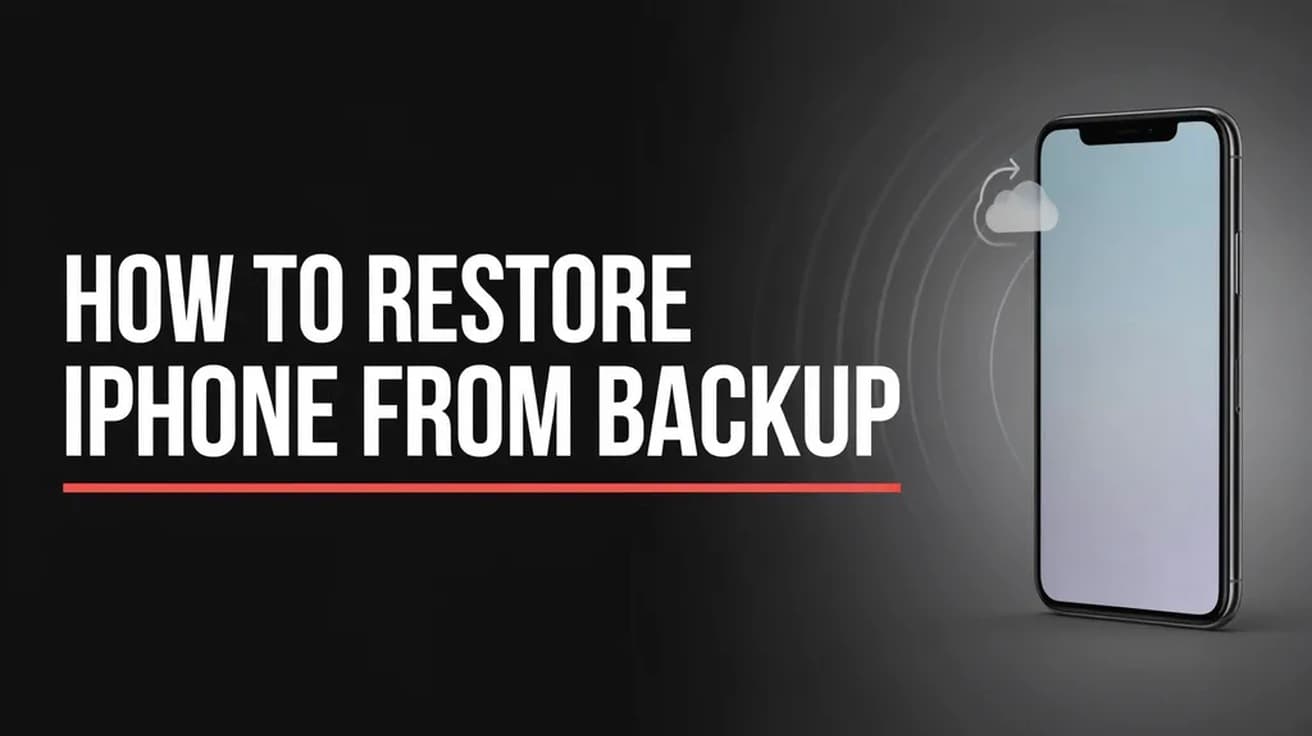
To restore iPhone from backup you have to erase the phone first, because iOS only offers the choice during initial setup. Back up your current data, go to Settings > General > Transfer or Reset iPhone > Erase All Content and Settings, then at the Transfer Your Apps & Data screen tap From iCloud Backup and pick the backup you want. To use a backup saved on a computer, connect the phone and choose Restore Backup in Finder instead.
The awkward part of this job is that there is no "restore" button sitting in Settings. Apple only offers the choice during the setup assistant, which runs once, when the phone has nothing on it. That means the process starts with an erase.
So before you touch anything, make a fresh backup of whatever is on the phone now. If the backup you plan to restore is older than today, anything created since then is about to be wiped, and an erase cannot be undone.
How to restore iPhone from backup using iCloud
1. Confirm the backup exists. Open Settings, tap your name, then iCloud, then iCloud Backup, and check the date under Back Up This iPhone. If it is old, tap Back Up Now and wait for it to finish before going any further.
2. Open Settings, tap General, and scroll to the bottom for Transfer or Reset iPhone.
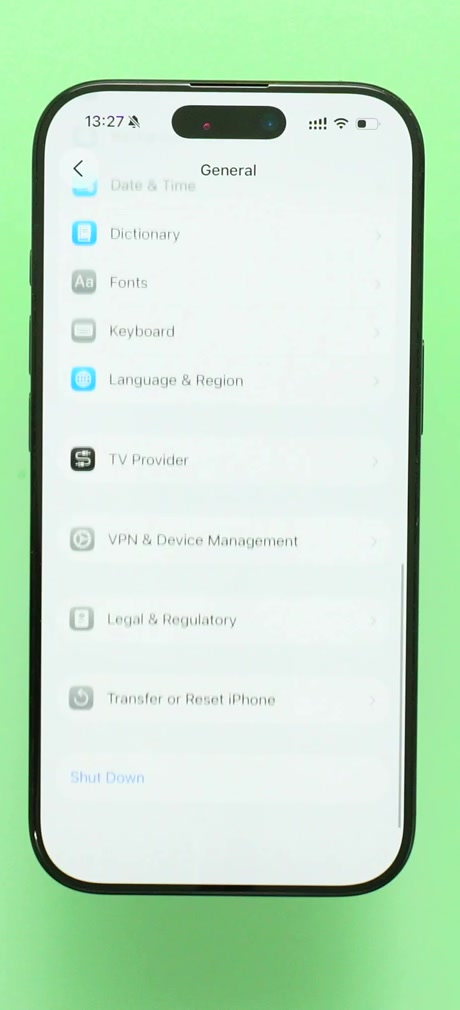
3. Tap Erase All Content and Settings. Ignore Prepare for New iPhone at the top of this screen unless you are actually moving to a different handset.
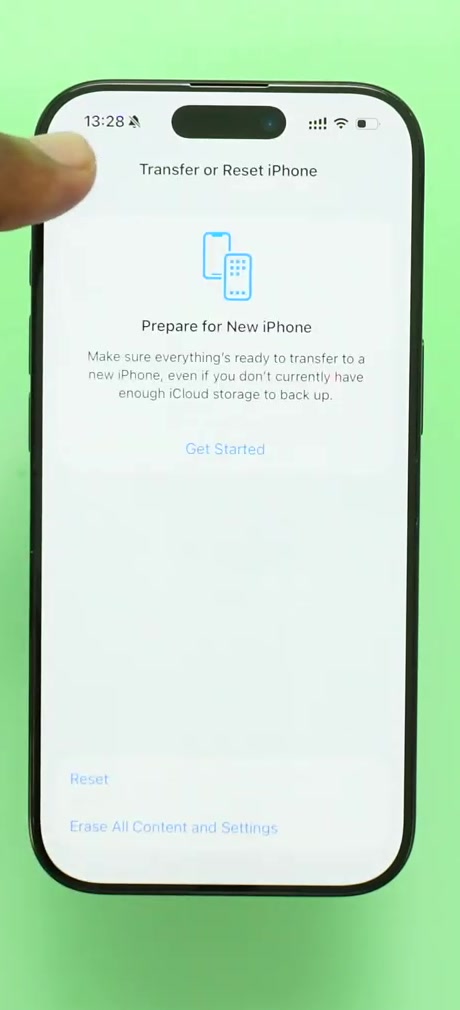
4. Tap Continue, choose whether to keep or delete your eSIM, then enter your device passcode and your Apple Account password. Apple's guidance is that deleting the eSIM means contacting your carrier to reactivate the plan, so keep it unless you are handing the phone on.
5. Wait for the erase. The phone restarts on the Hello screen, which is the point the setup assistant takes over.
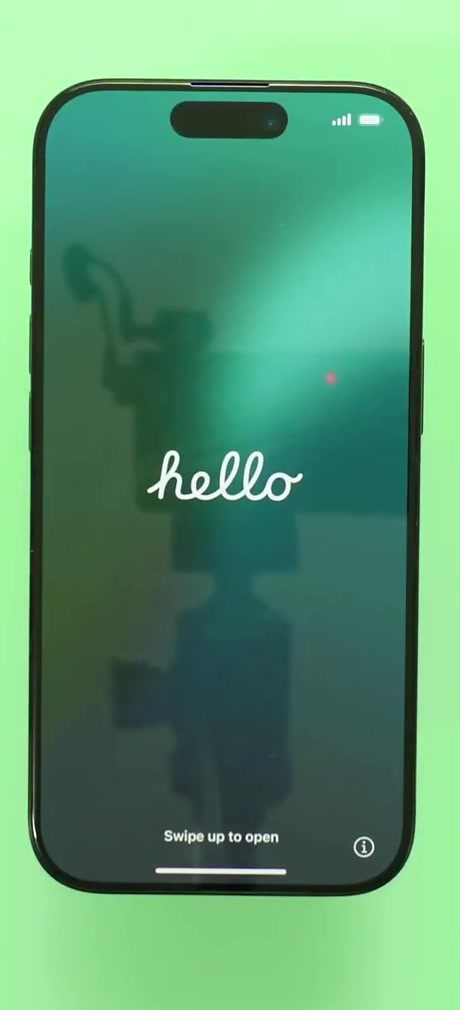
6. Work through language, region and Wi-Fi until you reach Transfer Your Apps & Data, then tap From iCloud Backup.
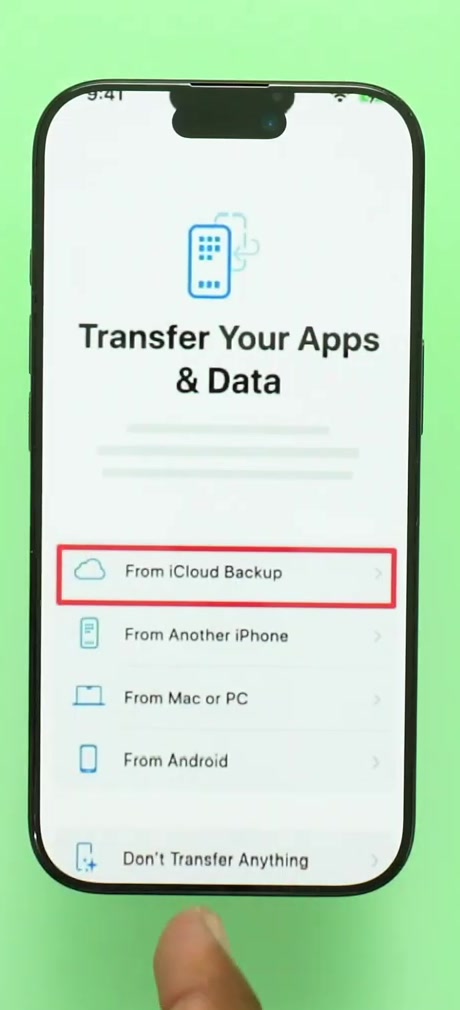
7. Sign in to your Apple Account and pick a backup. Each one is listed with a date and a size, so choose on the date rather than the name. If a message says the backup needs a newer version of iOS, follow the prompts to update first.
8. Stay on Wi-Fi and let the progress bar finish. Apple puts this at anywhere from a few minutes to an hour depending on the size of the backup and your connection, and warns that dropping off Wi-Fi pauses the transfer rather than cancelling it.
9. Finish setting up the phone. Apps, photos and music keep downloading in the background afterwards, and on a large library that can run for hours or days. Keep the phone on power and on Wi-Fi while it catches up.
Restoring from a backup on your computer
A local backup restores faster and, if you encrypted it, carries saved passwords and Health data that an unencrypted computer backup leaves out. The route differs by machine.
On a Mac, open Finder. On Windows, open the Apple Devices app, or iTunes if you do not have it. Connect the iPhone with a cable, approve the Trust This Computer prompt, and select the phone in the sidebar. Choose Restore Backup, pick the backup by date, click Restore, and enter the encryption password if you are asked for one.
Then leave the cable connected after the phone restarts, so it can finish syncing. Unlike the iCloud route, this one does not require the phone to be sitting at the Hello screen.
What this does not do
A backup is not a complete copy of the phone, because several things live in iCloud instead of in the backup file. Photos, Messages, Mail, Notes and Voice Memos sync separately when the matching iCloud settings are on, so after a restore they arrive over the network rather than out of the backup. That is why a freshly restored phone can look half-empty for a while.
iCloud Drive files behave the same way, and if you are hunting for older texts that never came back, the recovery path is a different one — see our guide to recently deleted messages on iPhone.
Restoring also does not clear a Screen Time passcode; Apple states plainly that a restore leaves it in place. And the device name carries over from the backup, so if you are setting up a second handset you may want to change the iPhone name afterwards to tell them apart.
Common questions
Can I restore without erasing the phone? Not through the iCloud route. Apple's instructions begin at the Hello screen and say an already set-up device must be erased first. A computer restore is the exception — it overwrites the phone directly from Finder or the Apple Devices app.
Can I restore an iPhone from an iPad backup? You can select it, but Apple notes that some data will not carry across, and Messages and Voice Memos in particular may not appear. Use a backup made from the same kind of device where you can.
What if I set the phone up as new by mistake? Erase it and restore from the older iCloud backup as soon as you can. Apple's warning is that new backups made by the freshly set-up device will overwrite the saved ones you are trying to get back to.
If the option isn't there
If Transfer Your Apps & Data never appears, the phone was not fully erased and is resuming an existing setup — erase it again from Settings and start over. If the screen appears but your backup is missing from the list, check that you signed in with the same Apple Account that made it; backups are tied to the account, not the handset.
If the restore stalls or the phone reports it needs a newer iOS version than it has, Apple's documented fix is to let the setup assistant update the device first, then repeat the restore. Where that fails, Apple Support can look at the account side of it, which is the part you cannot inspect from the phone.