How to Screen Capture Dell Laptop: 4 Ways That Work
Four keyboard shortcuts capture the screen on any Dell laptop running Windows 11 or 10. Here is where the prt sc key sits, what each shortcut does, and where the files end up.
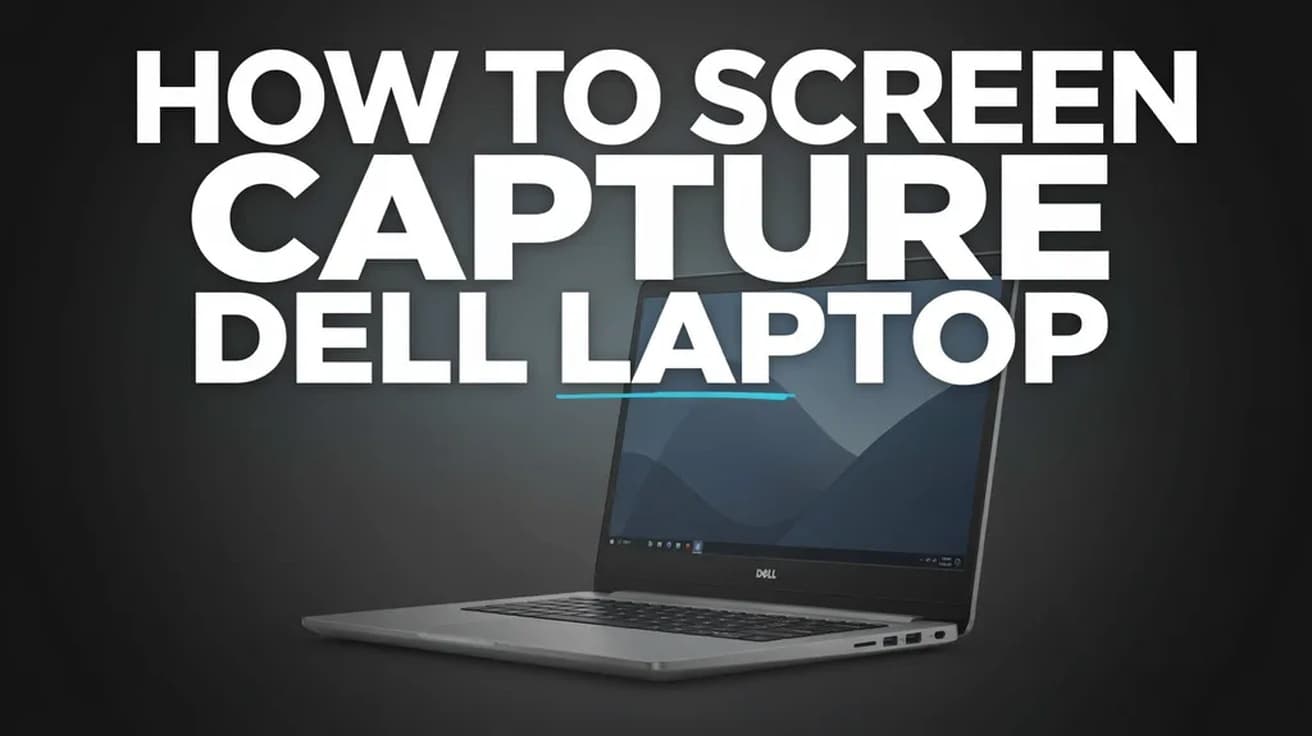
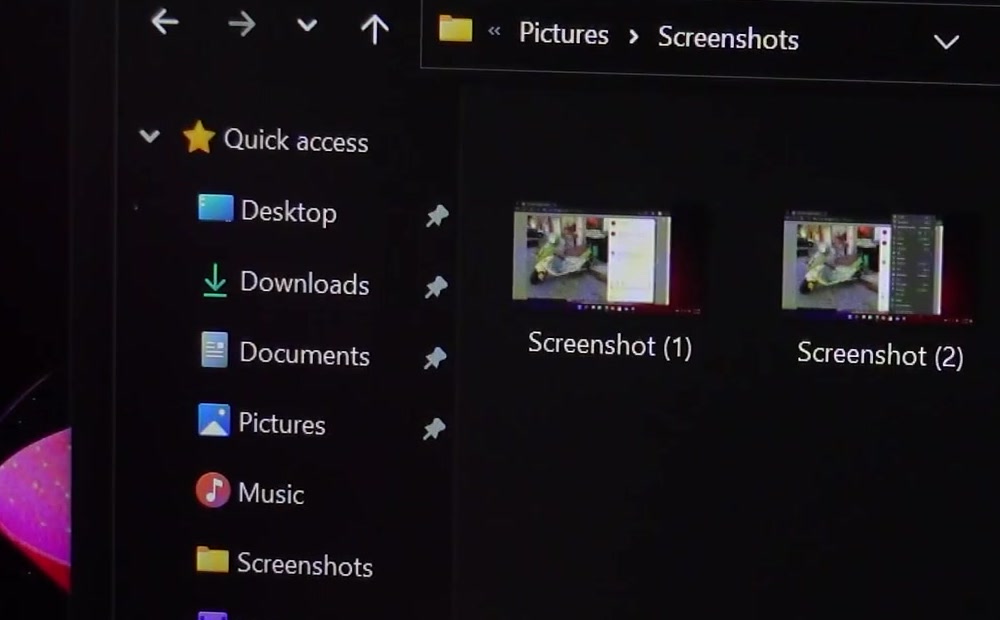
Press Windows key + Shift + S to grab part of the screen, or press Print Screen (labelled prt sc on most Dell keyboards) to capture the whole thing. Press Windows key + Print Screen and Windows saves a PNG straight to Pictures > Screenshots with no further steps.
There is nothing Dell-specific about a screen capture. Dell laptop screenshots are handled entirely by Windows, so the same shortcuts work on an XPS, a Latitude, an Inspiron or a Vostro.
What is Dell-specific is the keyboard. The Print Screen key shares space with a function key on most Dell laptops, and on some models the top row is set to media controls by default, which means the key needs an Fn press to behave the way you expect.
One thing worth knowing before you start: on current builds of Windows 11, pressing Print Screen on its own no longer copies the screen silently. It opens the Snipping Tool overlay instead. Microsoft's own support page still describes the older clipboard behaviour, so what your machine does depends on which build it is running.
How to screen capture Dell laptop screens
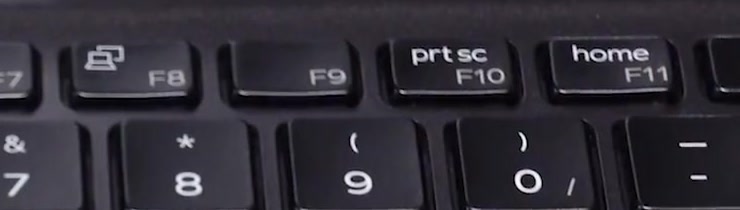
1. Find the Print Screen key. On a Dell laptop it sits in the top function row, usually sharing F10 or F11, and it is printed as prt sc rather than the full words.
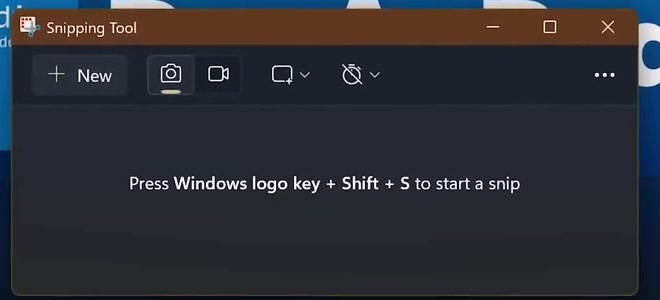
2. For a partial capture, press Windows key + Shift + S. The screen dims and a small toolbar appears at the top. This is the Snipping Tool, and it is the shortcut Microsoft documents first.
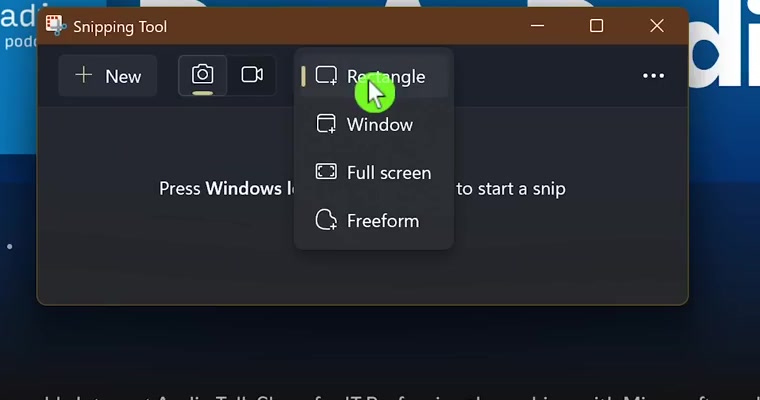
3. Choose a snip mode from the toolbar. Rectangle lets you drag a box, Window grabs a single window, Full screen takes everything, and Freeform lets you draw an outline by hand.
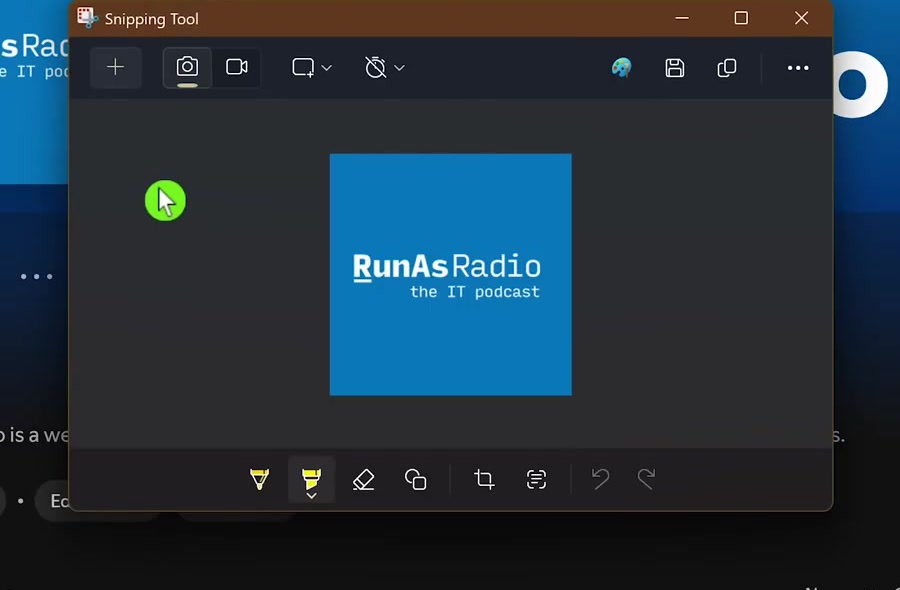
4. The capture opens in the Snipping Tool window. From here you can highlight, crop, erase, or run Text actions to pull the words out of the image. Press Ctrl + S to save a copy wherever you like, or Ctrl + C to put it on the clipboard.
5. To skip all of that, press Windows key + Print Screen. The screen flashes once and a PNG of the whole display lands in Pictures > Screenshots, numbered in sequence. Nothing opens, nothing needs saving.
Faster routes and Dell keyboard quirks
Alt + Print Screen captures only the window you are currently working in and copies it to the clipboard. It is the quickest way to grab one dialog box without cropping afterwards.
If pressing prt sc does nothing, the function row is probably locked to its media controls. Hold Fn and press prt sc, or toggle the behaviour permanently with Fn + Esc. Dell also exposes this as a Function Key Behavior setting in the BIOS on many models, where you choose between Function Key First and Multimedia Key First.
Windows key + Shift + R starts a video snip instead of a still. You drag out a region, press Start, and press Stop when you are finished. Recordings can be sent to Clipchamp for editing.
On a Copilot+ PC, the Snipping Tool adds two more options: Perfect screenshot, which snaps the capture area to the content on screen, and Color picker, which copies an exact colour value. Neither appears on a standard Dell.
What this does not do
Print Screen on its own does not create a file. On older builds it copies the screen to the clipboard, where it stays until you paste it into Paint, Word or an email. On current Windows 11 builds it opens the Snipping Tool instead. Either way, nothing is saved to disk until you save it.
Windows + Shift + S does not save a file automatically on every version either. Recent releases of the Snipping Tool do autosave captures to the Screenshots folder, and the behaviour is controlled under See more > Settings inside the app. If you are on an older build, use Ctrl + S.
None of these shortcuts change what the screen is doing. They capture what is visible at that moment, which means a menu that closes when you click elsewhere will not be in the shot. The Snipping Tool's Delay option exists for exactly this: set it to five seconds, open your menu, and let the timer fire.
Common questions
Where do my screenshots go? Windows + Print Screen writes to C:\Users\your-name\Pictures\Screenshots. Plain Print Screen and Alt + Print Screen go to the clipboard only. Snipping Tool captures go to the same Screenshots folder on recent versions, and you can point that somewhere else in the app's settings.
Why does Print Screen open the Snipping Tool now? Microsoft changed the default in 2023. There was a toggle for it under Settings > Accessibility > Keyboard, but reports from Windows 11 24H2 and 25H2 say the toggle has disappeared from that page, and some builds have moved it to Bluetooth & devices > Keyboard. Search Settings for "print screen" and see which of the two your machine has.
Can I capture a scrolling page? Not with the built-in shortcuts. Windows has no scrolling-capture feature, so a long web page needs several screenshots or a third-party tool.
If Print Screen still isn't working
Try Fn + prt sc first, then check Fn Lock with Fn + Esc. If neither helps, an application may be intercepting the key. Screenshot utilities commonly claim Print Screen for themselves, and on Windows 11 Pro there is now a Group Policy called "Make Print Screen key yieldable" that controls whether they are allowed to.
Failing that, use the Snipping Tool directly. Open Start, type snipping tool, and press Enter. Every capture mode described above works from inside the app without touching the Print Screen key at all.