How to Turn On Developer Mode on Chromebook (It Wipes It)
Developer mode is a firmware setting, not a toggle in Settings. Turning it on erases everything stored on the Chromebook, and turning it back off erases it again.
 By Daniel ShuttleworthSep 26, 2026
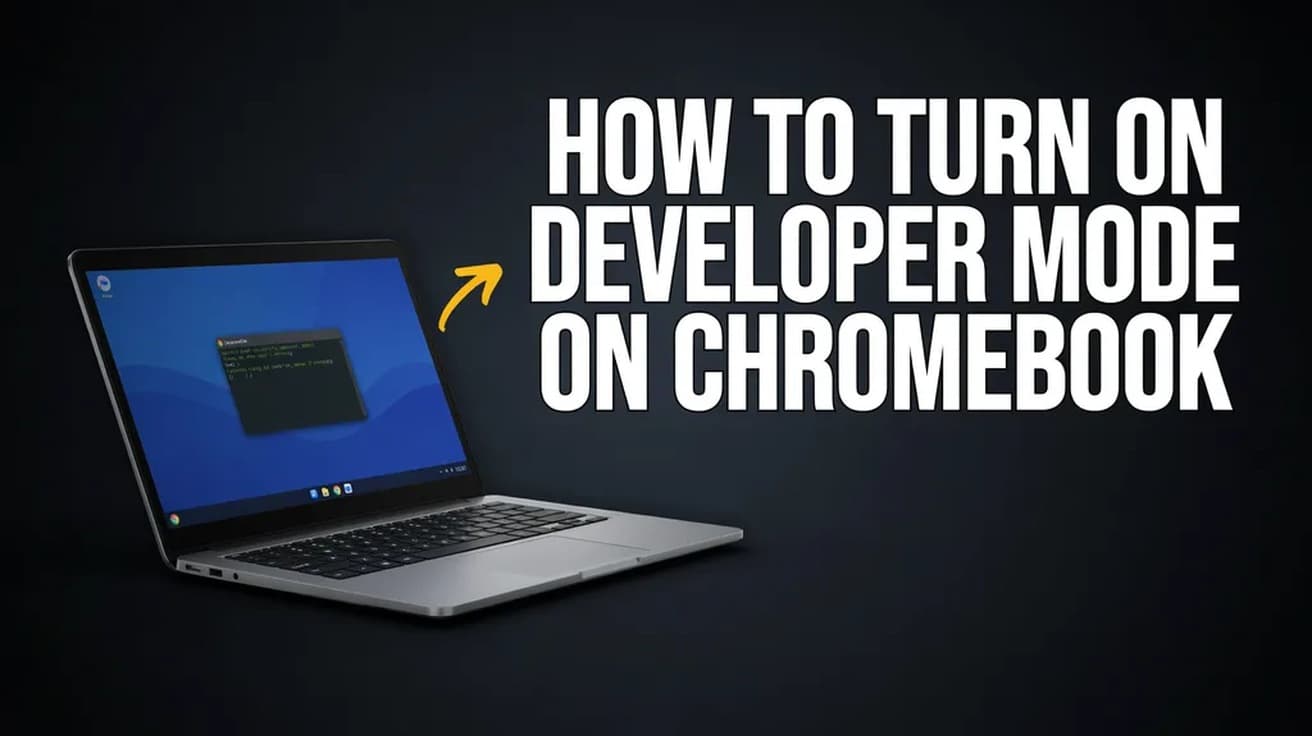
On a Chromebook with a keyboard, hold Esc + Refresh and press Power to enter recovery mode, then press Ctrl + D and confirm with Enter. The Chromebook erases everything stored on it and reboots into developer mode. Back up your files first, because the wipe is not optional and it happens a second time when you switch back.
There is no switch in Settings for this. How to turn on developer mode on Chromebook hardware comes down to a key combination held at boot, followed by a full wipe of the device. Google treats it as a firmware-level decision rather than a preference, which is why it is buried behind the recovery screen.
Developer mode relaxes ChromeOS verified boot. In exchange for that, you get a root shell and the ability to boot images Google did not sign, which is what people are usually after when they want to install Linux from a USB stick or run unsigned code. Google's own documentation is blunt that this makes the machine less secure, that the modifications are unsupported, and that they may void your warranty.
One thing to settle before you go any further: switching into or out of developer mode triggers what Chromium's documentation calls a mode transition wipe, which clears the stateful partition. Everything in your local Downloads folder, every locally stored file, and every signed-in account on the device goes. Files already synced to Google Drive are fine. Anything only on the Chromebook is not.
How to turn on developer mode on Chromebook, step by step
This is the sequence for a standard Chromebook with a built-in keyboard. Do the backup first.
1. Copy anything you care about off the device. Move local files into Google Drive, onto a USB drive, or onto another computer. Step 4 is the point of no return.
2. Turn the Chromebook off completely, not just close the lid.
3. Hold Esc and Refresh together, then press the Power button while still holding them. Refresh is the circular arrow key, usually fourth from the left on the top row. On some models the combination is Esc + Full screen instead. The Chromebook boots to the recovery screen, which tells you ChromeOS is missing or damaged and asks you to insert a recovery USB stick. That message is expected here and does not mean anything is actually broken.
4. At that screen, press Ctrl + D. A confirmation prompt appears. Press Enter to accept it.
5. The Chromebook restarts and begins the transition. The wipe and the switch take several minutes, and the device reboots on its own more than once. Leave it plugged in and do not interrupt it.
6. When it finishes, you land on a warning screen at every boot from now on, commonly worded as OS verification being off. Press Ctrl + D to boot straight into ChromeOS from the internal drive. If you press nothing, the screen times out after 30 seconds and boots anyway, accompanied by a warning beep.
You are then in developer mode. The device will run through first-time setup again, because the wipe removed your account from it.
Tablets, detachables and Chromeboxes
Keyboardless ChromeOS devices use the volume buttons instead of key combinations. If yours is a detachable, remove the keyboard first so the firmware treats it as a tablet.
1. Hold Power + Volume Up + Volume Down together for a full 10 seconds. The screen may switch off and back on during that time. Keep holding all three, then release.
2. At the recovery screen, press Volume Up and Volume Down at the same time to open the menu.
3. Use the volume buttons to move to Confirm Enabling Developer Mode and press Power to select it.
At the boot warning menu afterwards, hold Volume Down for three seconds and release to boot from the internal disk. Holding Volume Up the same way boots from external USB or SD, if you have enabled that.
Chromeboxes are different again: they have a dedicated recovery button. Hold it and press Power to reach the recovery screen, press Ctrl + D on the attached keyboard, then push the physical recovery button to confirm. Older ChromeOS hardware shipped with a physical developer switch instead of any key combination.
What developer mode does not do
Three different things are called developer mode around Chromebooks, and only one of them wipes your machine. It is worth checking which one you actually need before you erase anything.
It is not the Chrome extensions toggle. If you want to load an unpacked extension, you need the Developer mode switch at the top right of chrome://extensions. That is a browser setting, it takes one click, and it erases nothing. This is the one most people are looking for.
It is not the Linux development environment. Running Linux apps, VS Code or a terminal on a Chromebook is Crostini, which you turn on under Settings > Advanced > Developers > Linux development environment. It is fully supported, it keeps verified boot intact, and it does not wipe anything. Device-level developer mode is only necessary if you want to replace the operating system or get a root shell outside that container.
It is not the Dev channel. Switching to the ChromeOS Dev channel gets you pre-release builds of the OS, and lives under Settings > About ChromeOS > Additional details. It is a separate mechanism from verified boot and does not involve the recovery screen.
Common questions
How do I turn developer mode back off? Reboot, and at the firmware warning screen press the Spacebar to re-enable OS verification. On a tablet, use the volume buttons to select Enable OS Verification and confirm with Power. This wipes the device a second time, so back up again before you do it.
Will I still get ChromeOS updates? Normally yes, developer mode by itself does not stop automatic updates. If you go further and disable rootfs verification to make the system partition writable, updates can start failing until a full update payload downloads, and you will need a recovery image to get back to verified mode cleanly.
Can I get rid of the warning screen at boot? Not through any supported route. The screen is part of how ChromeOS signals that verified boot is relaxed, and pressing Ctrl + D at it is the intended way to skip the 30-second wait.
If developer mode is blocked
If the recovery screen refuses the Ctrl + D step and tells you developer mode is blocked, the Chromebook is enterprise-enrolled. Google confirms that administrators who manage devices can block developer mode by enabling forced re-enrollment, and that a device in that state shows the block message and reboots back into verified mode. School and work Chromebooks are almost always configured this way, and that is the intended behaviour rather than a fault.
There is no user-side route around it, and looking for one is not worth your time. If the device belongs to your school or employer, the decision is your administrator's to make. If you bought the Chromebook second-hand and it is still enrolled to someone else's domain, the previous owner's administrator needs to deprovision it, which removes the forced re-enrollment and restores developer mode access. Google also runs an ownership support process for devices where the original organisation cannot be reached, and it requires proof of purchase.
Two other cases produce the same dead end. ChromeOS Flex devices, which run ChromeOS on ordinary PC and Mac hardware, do not have developer mode available at all. And if a refurbished Chromebook stalls at an enrollment page, Google suggests first signing in with a personal Google account and completing setup, then trying the developer mode sequence again.