How to Clean iPhone Charging Port Safely
A charging port packed with pocket lint is the most common reason an iPhone charges only at certain angles. Here is the safe way to clear it, and where Apple draws the line.
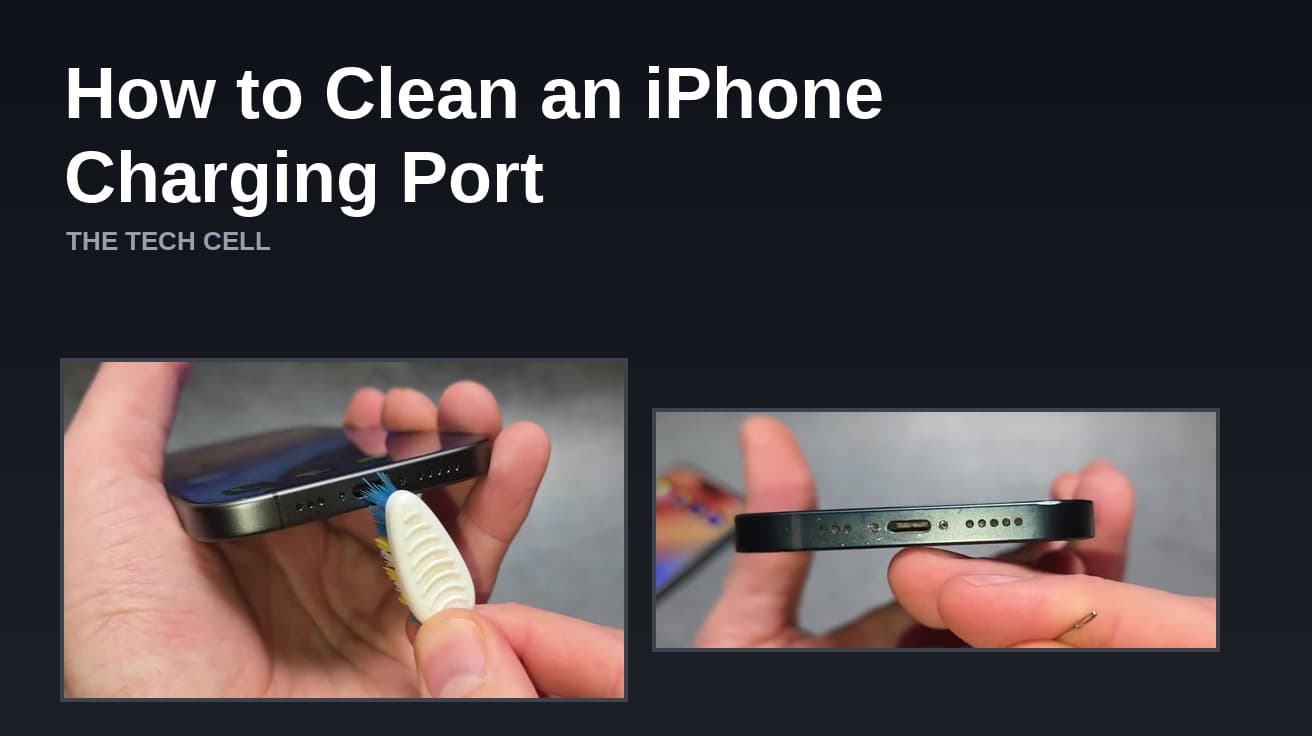
To clean an iPhone charging port, turn the phone off, shine a light into the port, and lift the lint out with a dry nylon brush or a bulb air blower, working gently along the walls. Do not use compressed air, liquid, or anything metal. A compacted plug of pocket lint is the most common reason a cable will not seat properly.
If your cable only charges at a certain angle, falls out under its own weight, or has to be pushed harder than it used to be, the charging port is usually the problem rather than the battery or the cable. Pocket lint gets pressed to the bottom of the port a little more each time you plug in, until the connector can no longer reach the contacts.
The job itself takes five minutes. The risk is not the lint, it is the tools: the pins inside the port are thin, fixed and not replaceable on their own, so what you put in there matters more than how thoroughly you scrub.
What actually blocks an iPhone charging port
Compacted lint. Fabric fibres from pockets and bags collect at the mouth of the port and get compressed into a firm pad by the connector. It looks like a dark smudge at the bottom of the port, and it does not brush out with a wipe of a cloth.
Moisture, not debris. If your iPhone shows a "Charging Not Available", "Liquid Detected in USB-C Connector" or "Liquid detected in Lightning Connector" alert, this is a different problem. Apple's instruction is to unplug, tap the iPhone gently against your hand with the connector facing down, and leave it somewhere dry with airflow for at least 30 minutes — up to a day if the alert returns. Wireless charging still works in the meantime.
A worn cable or adapter. Apple notes that if the liquid alert appears every time you connect one particular cable or accessory, that cable or accessory may be damaged. A frayed or bent connector also seats badly in a perfectly clean port.
What not to put in the port
Apple's cleaning guidance for iPhone is short and mostly negative: unplug all cables, turn the iPhone off, use a soft, slightly damp, lint-free cloth on the outside, avoid getting moisture in any openings, and don't use compressed air. Its liquid-detection page adds two more: don't insert a foreign object such as a cotton swab or a paper towel into the connector, and don't put the iPhone in a bag of rice, because rice particles can get in and cause their own damage.
Repair guides go further than Apple does. iFixit's port-cleaning guide uses a hand bulb blower, a dry brush, and — as a last resort — a thin swab dampened with isopropyl alcohol above 90 percent, while warning against metal tools of any kind because they bend the contacts. That is standard practice in repair shops, but Apple does not endorse putting anything inside the connector, so the steps below stay on the conservative side of that gap. Anything you do insert, you do at your own risk.
Two rules are not in dispute: nothing metal — no SIM tool, pin, needle, staple or tweezers — and nothing wet going into the opening.
How to clean an iPhone charging port
1. Unplug the cable and power the iPhone off. Apple's cleaning instructions start here, and it removes any voltage from the contacts while you work. Then shine a bright light straight into the port and look at what is in there. A clear port shows an even row of contacts; a blocked one has a dull grey pad sitting across the bottom.
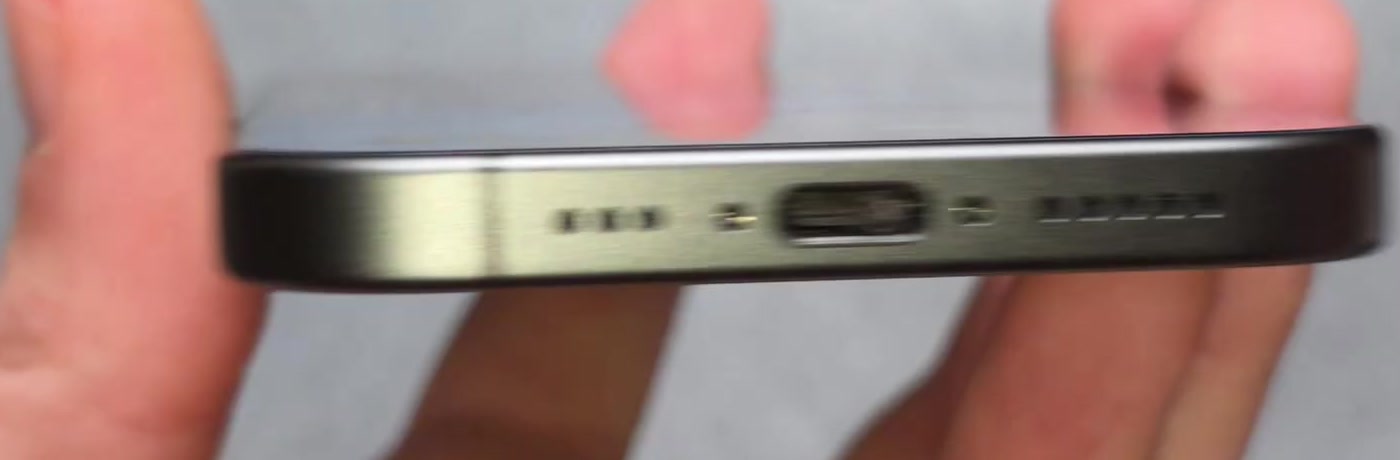
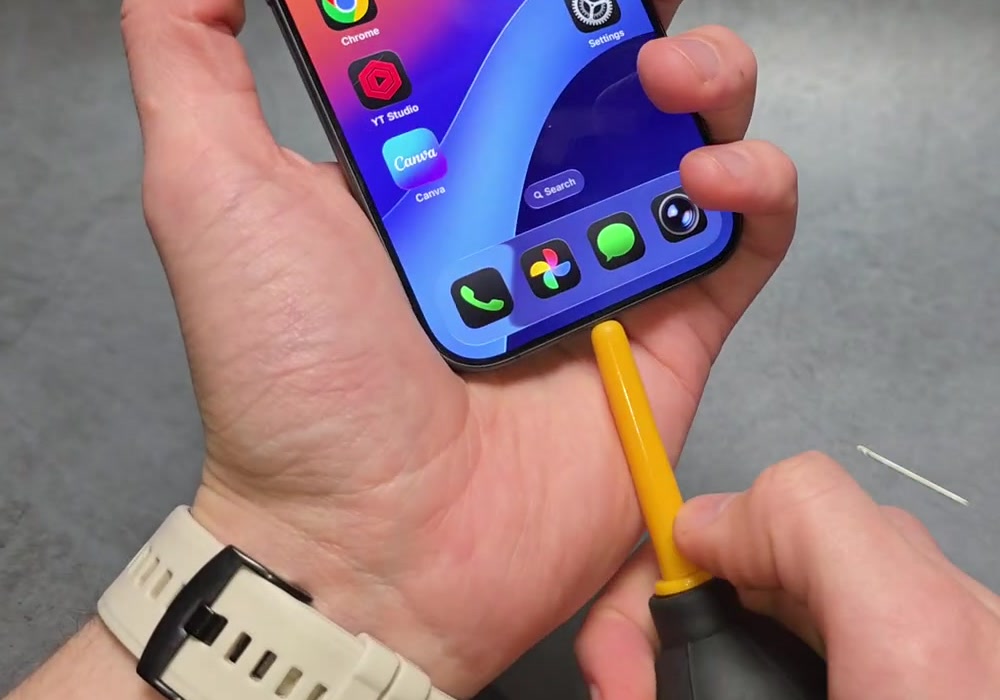
2. Start with air. A rubber bulb blower — the kind sold for camera lenses — puffs enough air to shift loose debris without the pressure of a canned duster, which Apple tells you not to use. Hold the nozzle just off one corner of the port rather than sealing it against the opening, so the debris has somewhere to go. Never blow into the port with your mouth; the moisture in your breath is the thing you are trying to keep out.
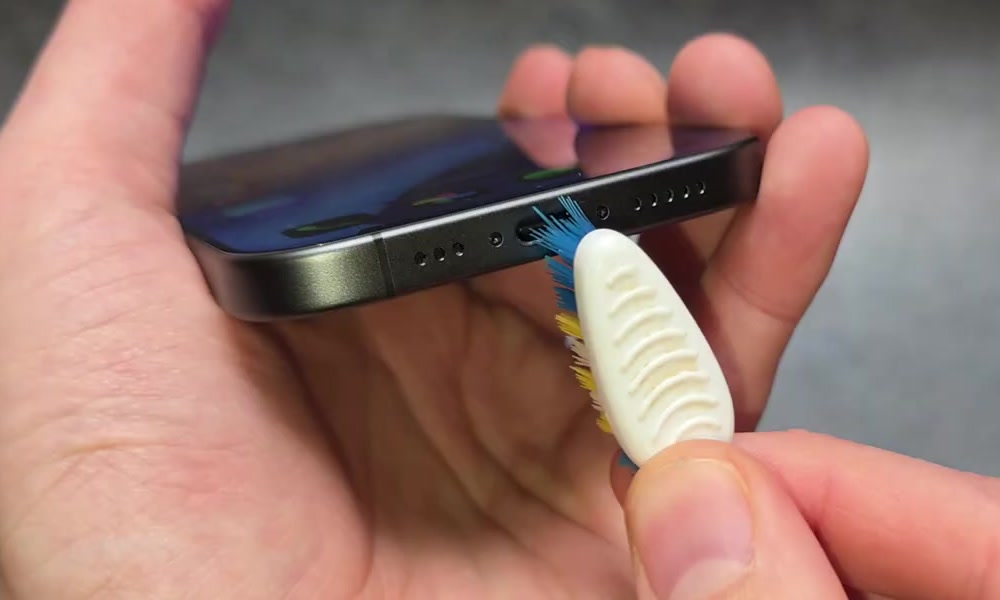
3. Brush it out. A dry, soft-bristled brush — a clean toothbrush or an anti-static electronics brush — is the tool most repair guides reach for. Insert the tip, turn it in small circles to break up the pad, then withdraw it and puff the loosened fibres away with the blower. Repeat that pair of moves a few times rather than pushing harder.
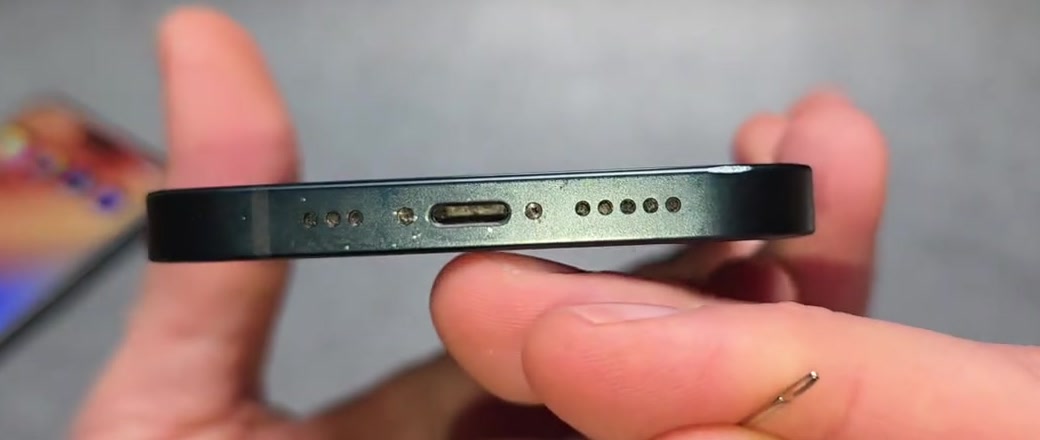
4. Only if a plug is still visible, use a wooden or plastic toothpick, angled along the outer wall and scooped outward — not jabbed at the contacts. On USB-C iPhones, iPhone 15 and later, work in the gap between the wall and the small tongue in the middle of the port; that tongue carries the contacts and does not tolerate being levered. If the debris does not lift after a couple of passes, stop. Forcing it is how a cleaning job becomes a repair bill.
5. Look again, then test. Reconnect the cable and check that it seats with a firm, even click and that charging holds when you move the phone. If the connector still sits proud of the edge, there is more in the port than you have removed.
If it still will not charge
Rule the cable out first. Swap in a different cable and adapter, and try another outlet — a cable that charges one device and not another is still suspect, because the fault can be in the connector's pins rather than the wire.
Then check that the phone charges wirelessly. If a Qi charger works normally and the cable does not, the problem is in the port or the cable, not the battery or the software. If you are getting a liquid alert on a dry phone with every Apple cable you own, Apple's own guidance is that the phone may need service.
Still not working
A port that has been cleaned, inspected under a light and confirmed clear, and still will not hold a charge, is a hardware question. The charging port on an iPhone is a replaceable part, but it is soldered into an assembly and is not a first repair to attempt at home. Book it with Apple Support or an authorised service provider and ask them to check the port and the pins for corrosion — that is a diagnostic they run routinely.
What none of the published guidance settles is how much lint is "too much" to remove yourself. There is no test for it. The honest line is the one above: if two gentle passes do not lift it, stop.