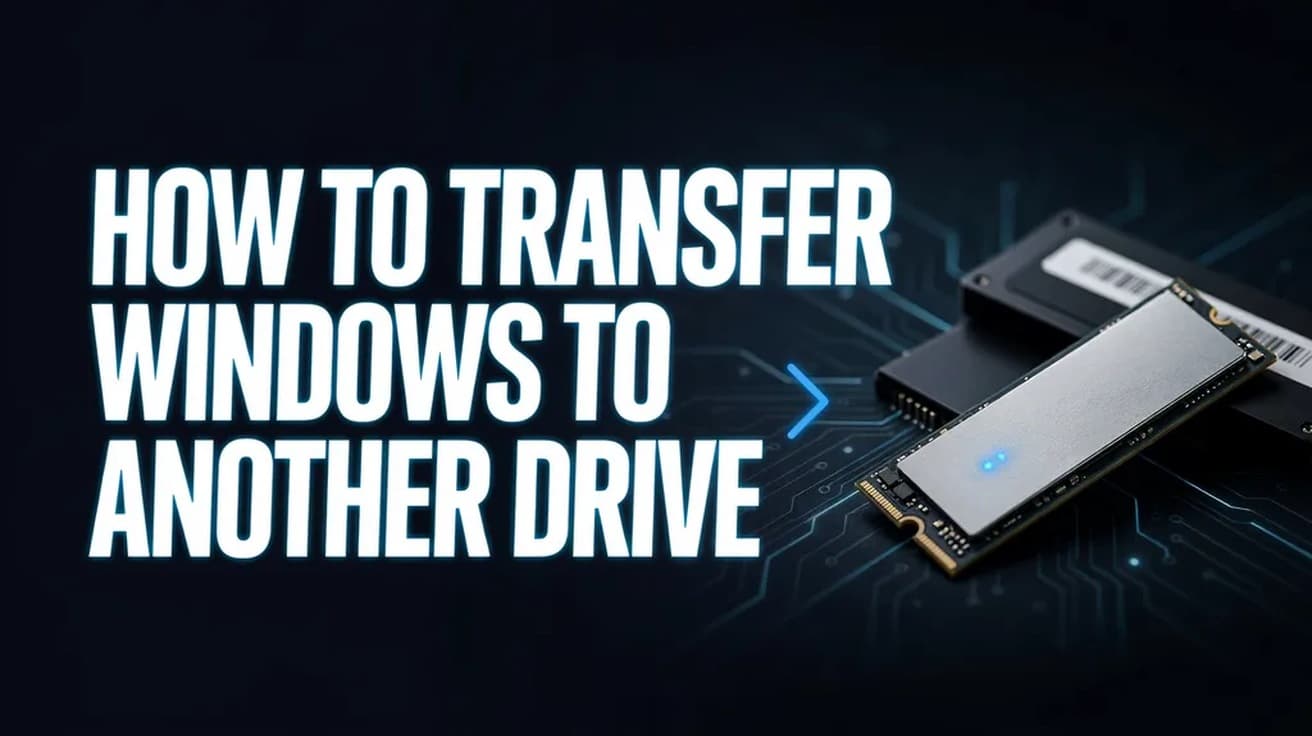
How to Transfer Windows to Another Drive (Clone It)
Windows has no built-in cloning tool, so moving your installation to a new SSD means third-party software, a careful source-and-destination check, and a boot order change.
 By Daniel ShuttleworthOct 2, 2026
Windows has no cloning tool of its own, so the job needs third-party software. Connect both drives, run a clone utility to copy the old drive onto the new one, then move the new drive to the top of your PC's boot order. Swapping the drive does not cost you your Windows licence.
Two things are worth knowing before you transfer Windows to another drive. The destination drive is wiped completely, so anything already on the new drive has to be somewhere else first. And a clone is a copy, not a move: when it finishes, your old drive still holds a working Windows installation.
That second point is the reassuring one. If the new drive misbehaves, the original is still sitting there, bootable, exactly as it was. It makes this one of the lower-risk upgrades you can do to a PC.
What you need before you start
Both drives have to be connected at the same time. On a desktop that usually means a spare SATA port or a second M.2 slot. On a laptop with only one slot, you clone to the new drive in a USB enclosure first, then swap the drives over physically.
A new drive that is larger than the old one is the straightforward case. Cloning onto a smaller drive is possible with some tools and not others, and it is the setup most likely to fail partway, so check your tool's documentation before you count on it.
Back up anything irreplaceable to a third location — not the old drive, not the new one. Cloning is reliable, but a clone that goes wrong while your only copy is on one of the two drives involved is a bad afternoon.
How to transfer Windows to another drive
1. Fit the new drive, or connect it in an external enclosure. Make sure Windows can see it before you go any further.
2. Open Disk Management. From the Start menu, type Create and format hard disk partitions, then right-click the result and choose Run as administrator. If the new disk shows as Offline, right-click it and select Online.
3. Initialize the new disk if Windows asks. Right-click it, choose Initialize Disk, and pick GPT — Microsoft's documentation makes GPT the default and recommends it for modern drives and anything over 2 TB. Some cloning tools handle this themselves, so if your tool already lists the drive you can skip ahead.
4. Install your cloning software. Which one depends on the drive you bought, and the next section covers the options.
5. Run the clone. Set the source to your current Windows drive and the destination to the new one, then read that screen twice before you confirm. Reversing source and destination erases the Windows installation you are trying to keep.
6. Shut the PC down when the clone finishes. If you can get at the old drive easily, unplug it for the first boot. That removes any ambiguity about which disk the machine started from.
7. Boot into your PC's UEFI or BIOS setup and move the new drive to the top of the boot order. The key that gets you there is maker-specific — commonly F2, F10, Del or Esc — and is usually shown for a second or two on the startup screen. Save and exit.
8. Confirm Windows came up from the new drive, then reconnect the old one. If the new drive is bigger and you have unallocated space left over, extend the partition as described further down.
Which cloning tool to use
Start with whoever made the drive, because several makers give you a cloning tool free with the hardware.
If you bought a Western Digital or SanDisk drive, that is Acronis True Image for Western Digital. WD's own release notes state you need at least one Western Digital device connected to activate it, and the current build also handles migrating an older MBR/BIOS installation to GPT/UEFI. Crucial has an equivalent Acronis build. For Samsung drives, cloning now lives inside Samsung Magician — the standalone Samsung Data Migration tool was folded into Magician, and Samsung notes that supported features may vary with drives from other manufacturers.
If your drive came with nothing, Macrium Reflect is the usual recommendation, but check what you are downloading. The free edition was retired, and Macrium now sells Reflect Home with a 30-day trial — enough for a one-off migration, though it is a trial rather than a free product.
For something free regardless of hardware, Clonezilla boots from a USB stick and will clone almost anything. It is genuinely capable and genuinely unfriendly: a text-driven interface with no hand-holding, and no undo.
What cloning does not do
It does not cost you your Windows activation. Microsoft's guidance frames reactivation around significant hardware changes, and the example it gives is replacing your motherboard. Swapping a storage drive in the same PC is not that. Even so, link your Microsoft account to your digital licence before you start — it is free insurance, and it is what the activation troubleshooter needs if anything ever does go wrong.
It does not free up the old drive. The original is untouched and still bootable. Leave it that way until you are confident in the new drive, then format it and use it for storage.
It does not automatically claim the extra space on a bigger drive. You often end up with your old partition size plus a block of unallocated space. To absorb it, right-click the volume in Disk Management and choose Extend Volume. Microsoft's constraint here catches people out: the unallocated space must be on the same disk and sit immediately after the volume you are extending, with nothing in between. After a clone, the Windows recovery partition frequently lands between your C: drive and that free space, which is why Extend Volume is so often greyed out. A partitioning tool that can move the recovery partition is the straightforward fix.
It does not make a clean move to a different computer. Putting the cloned drive into another PC is a different job, and that one does involve a motherboard change — which is exactly the scenario Microsoft describes as requiring reactivation.
Common questions
Will I have to reinstall my programs? No. A disk clone copies the entire Windows installation, applications and settings included, which is the whole reason to clone instead of doing a clean install.
Can I keep using the PC while it clones? It depends on the tool. Some run from inside Windows and work from a snapshot; others want you to boot from a rescue USB so nothing is changing underneath them. Either way, treat the machine as busy and do not start anything heavy.
Do I have to wipe the old drive afterwards? Not immediately, and there is a good argument for waiting. Run on the new drive for a few days first. Once you are satisfied, format the old one.
If the clone won't boot
Go back to the boot order first — it is the common cause, and physically disconnecting the old drive forces the issue in a way that reordering the list sometimes does not.
If the firmware simply will not see the new drive as bootable, the likely mismatch is partition style: an older installation cloned as MBR onto a PC that boots UEFI. Some tools convert MBR/BIOS to GPT/UEFI during the clone, and that capability is worth checking for specifically before you repeat the attempt.
And if none of it works, you have lost nothing but time. The old drive is intact. Boot from it, and either try a different cloning tool or fall back to a clean Windows install on the new drive with your files restored from backup.