How to Charge Apple Watch: Steps, Times and Symbols
Apple Watch has no charging port, so everything goes through the magnetic puck on the back. Here is the correct way to charge it, what the screen symbols mean, and how long each model takes.
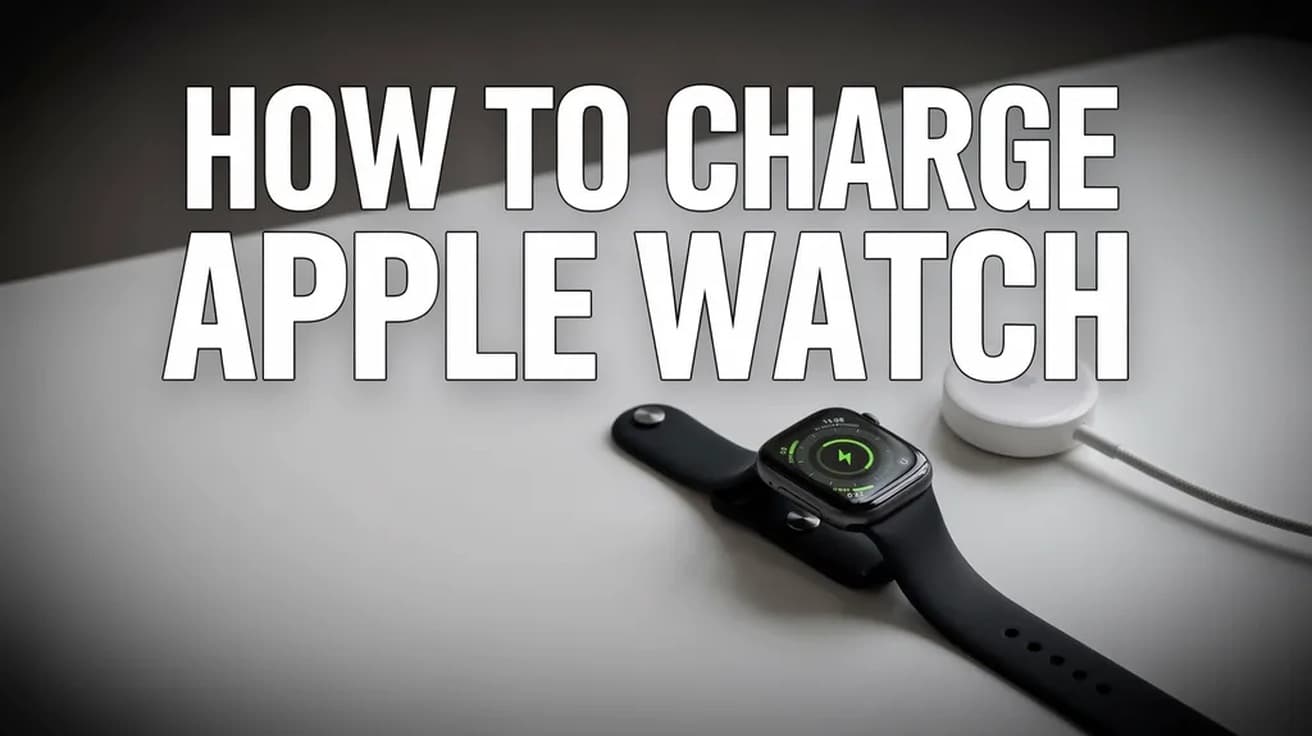
Plug the magnetic charger into a USB-C power adapter and a wall socket, then rest the back of your Apple Watch against the concave face of the charger. The magnets pull it into position on their own, the watch chimes, and a charging symbol appears on the screen. Fast charging needs Apple's USB-C Magnetic Fast Charging Cable and an 18W or larger adapter.
Here is how to charge Apple Watch, what the symbols on the screen are telling you, and roughly how long a full top-up should take. The watch has no socket, no pins and no port of any kind — power goes in wirelessly through the sapphire disc on the underside of the case, so the only thing you really have to get right is seating the charger squarely against it.
One detail catches most people out on day one: the watch comes with a charging cable but no power adapter. You supply the plug yourself, and the plug you pick is what decides whether you get ordinary charging or fast charging.
How to charge Apple Watch step by step
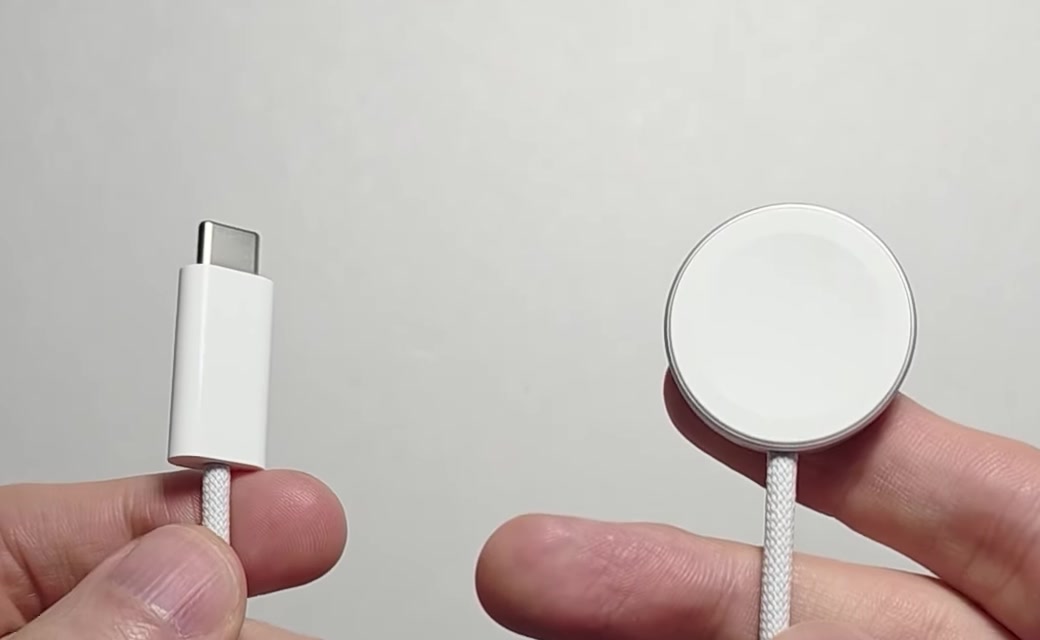
1. Find the charger that came in the box. It is a short cable with a USB-C connector at one end and a round magnetic puck at the other. The face of the puck is slightly concave, which is what lets it self-align against the curved back of the watch.
2. Plug the USB-C end into a power adapter, then plug the adapter into a socket. Apple lists its 18W, 20W, 29W, 30W, 35W, 61W, 87W, 96W and 140W USB-C adapters as suitable, or any third-party USB-C adapter supporting USB Power Delivery of 5W or greater. Apple also recommends placing the charger flat, in a well-ventilated spot.
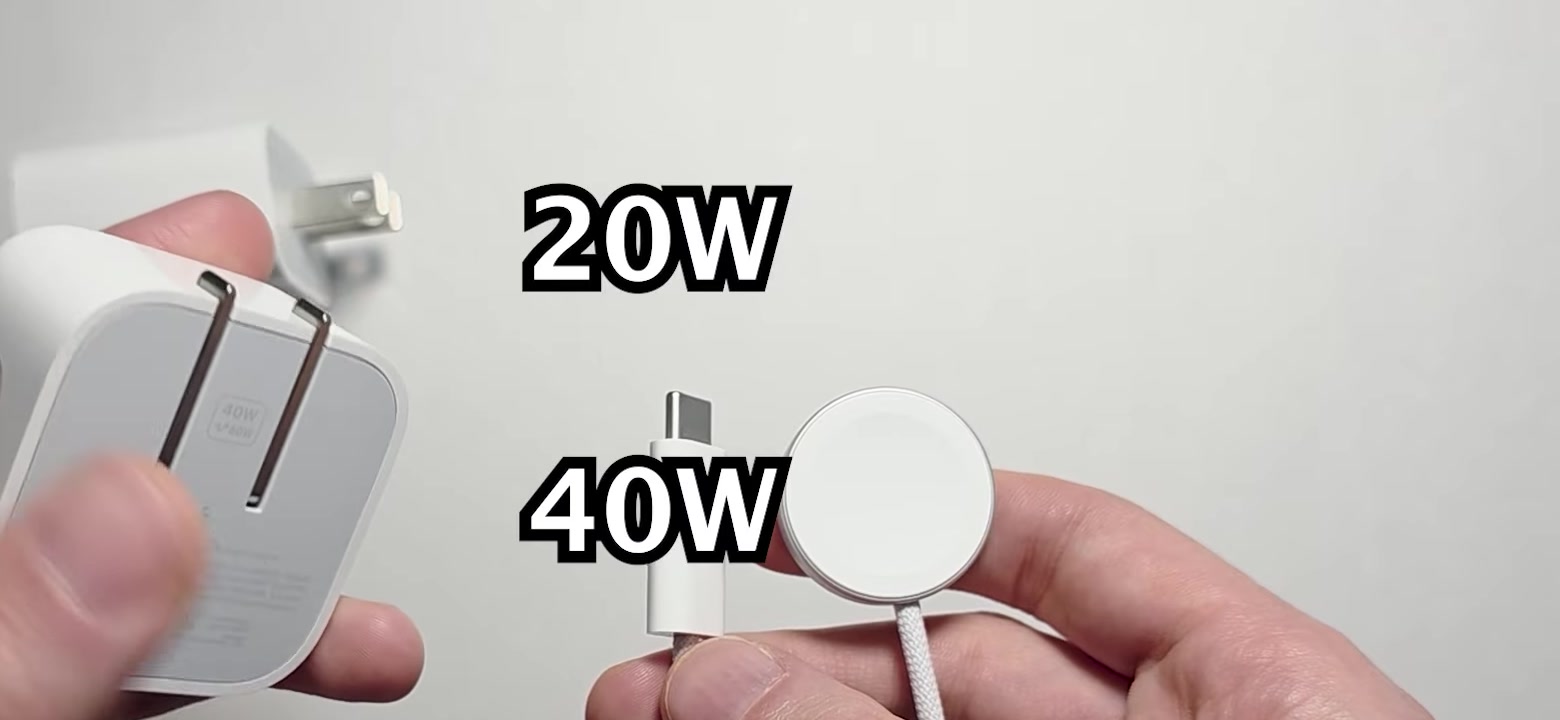
3. Rest the back of the watch on the puck. Do not try to line it up precisely — bring the two close and the magnets do the aligning. You can lay the watch flat with the band open, or stand it on its side.
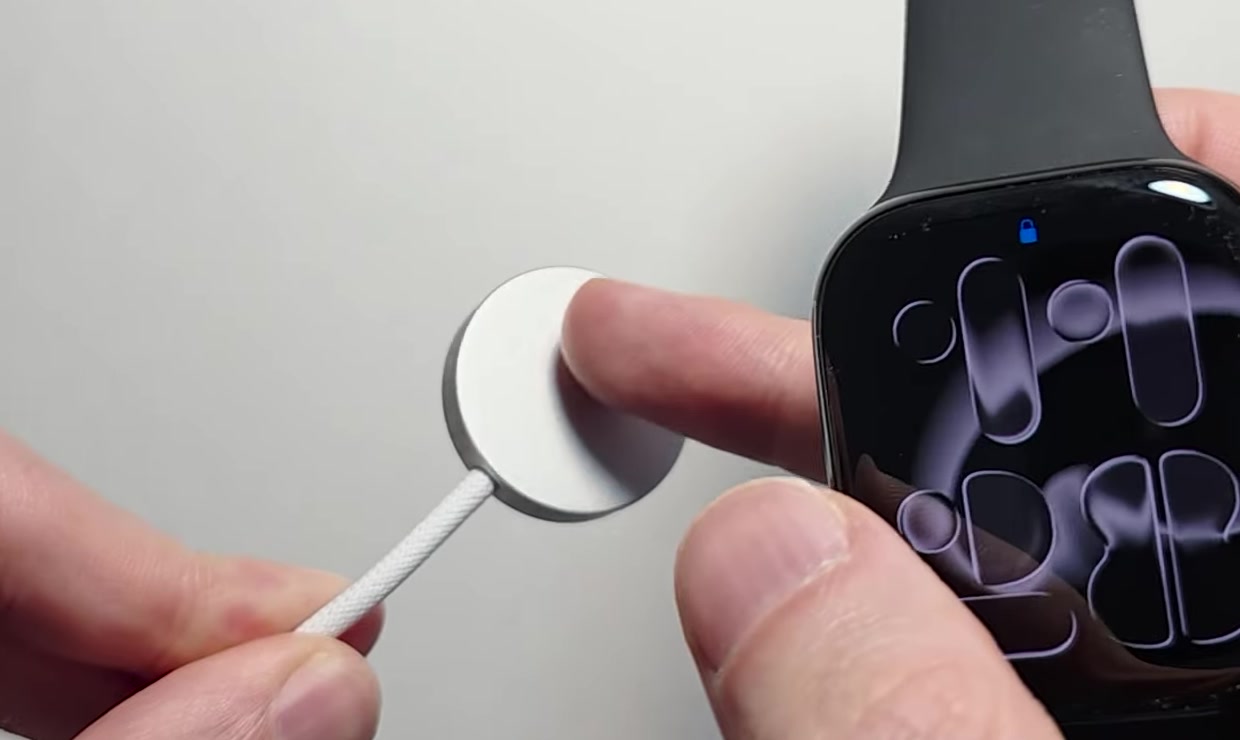
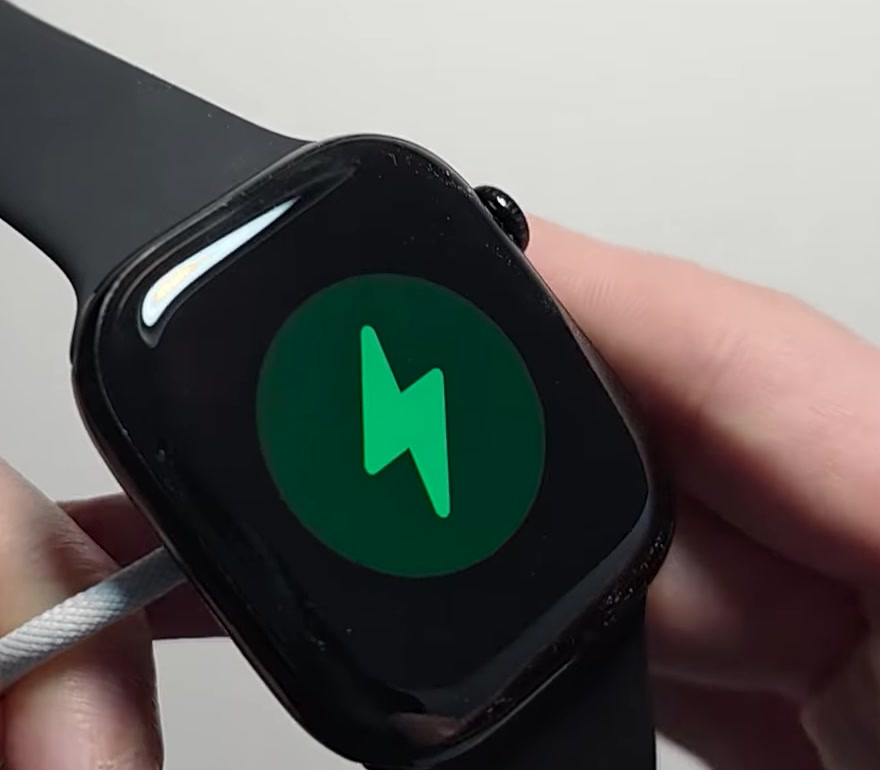
4. Wait for the confirmation. Unless the watch is in Silent Mode it plays a chime, and a charging symbol appears on the face. Green means it is drawing power normally. Yellow means the watch is in Low Power Mode, which switches itself off once the battery reaches 80 percent. A red lightning bolt means there is not yet enough charge to boot the watch up.
Fast charging, and how long each model takes
Fast charging is not a setting you switch on. It happens automatically when a supported watch is connected to Apple's USB-C Magnetic Fast Charging Cable and an 18W or greater USB-C adapter. You can tell that cable apart from the older one by its USB-C connector and the aluminium ring around the puck.
Apple's published figures for reaching 80 percent from empty: about 30 minutes for Series 10 and later; about 45 minutes for Series 7, Series 8, Series 9, SE 3 and Ultra 3; and about an hour for Ultra and Ultra 2. Those are Apple's own test numbers, and they assume a drained watch and a 20W adapter.
Three things slow it down, all of them documented by Apple. Extreme heat or cold can suspend fast charging entirely. Using the watch while it charges — leaving the display on, installing an update, moving music across — stretches the time out. And the very first fast charge after you pair the watch with an iPhone is slower than every one after it.
One regional exception is worth knowing. Watches sold in China mainland and Indonesia ship with a WPT-compliant charger to satisfy local wireless power rules, and those chargers do not fast charge at all. They are also model-locked: pair one with an incompatible watch and you get a "country-specific charger" message rather than a charge.
What charging your Apple Watch does not do
It does not need your iPhone. The watch charges perfectly well on its own. The one caveat Apple adds is for cellular models, where keeping the paired iPhone within range while charging helps it finish faster.
It also is not the same as charging a phone. Apple's documentation describes three options — the included magnetic charger, the MagSafe Duo Charger, or a compatible third-party charger. Resting an Apple Watch on a generic Qi pad meant for phones is not one of them, and Apple does not document any way to charge an Apple Watch from an iPhone itself.
And stopping at 80 percent is not a fault. Optimized Battery Charging uses on-device learning to hold the battery there until it expects you to need the watch, which reduces long-term battery ageing. You can find it, and the related Optimized Charge Limit, under Settings, then Battery, then Battery Health.
Common questions
How do I see the exact percentage? Swipe up from the bottom of the watch face to open Control Center, then tap the battery button. You get the precise figure and a shortcut to Low Power Mode.
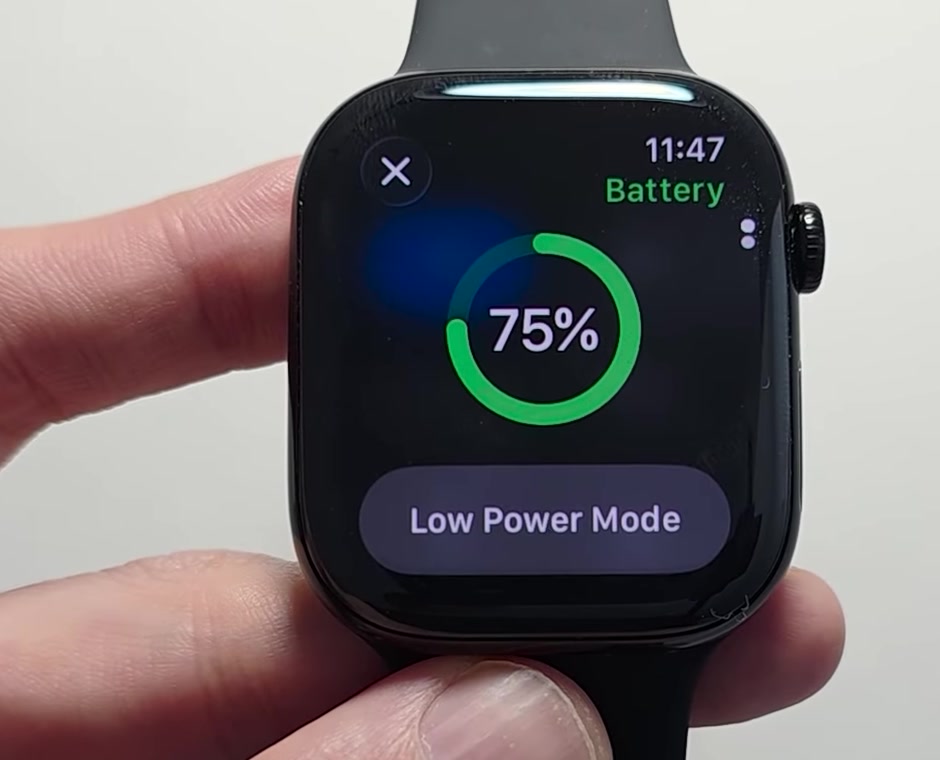
Can I leave it charging overnight? Yes, and that is the case Optimized Battery Charging was built for — it learns your routine and delays the last 20 percent until shortly before you normally pick the watch up.
Do I have to take the band off? Usually not. The exception Apple flags is Apple Watch Ultra or later on a dock or MagSafe Duo Charger: if it will not connect reliably even with the charger lying flat, removing the band can help the magnets meet.
If your Apple Watch will not charge
Work through Apple's list in order. Reposition the watch on the puck and watch for the bolt. Check that the cable is pushed fully into the adapter and the adapter fully into the socket. Make sure both the back of the watch and the face of the charger are clean, and that any plastic film has been peeled off both sides of the puck. Then try a different cable and a different adapter.
If the battery is completely flat, give it time — Apple says the lightning bolt can take up to 30 minutes to appear. If nothing has happened after that, force a restart by holding the side button and the Digital Crown together for at least 10 seconds, until the Apple logo appears. That is the same key combination used to turn an Apple Watch off and force it to restart.
Should it still refuse to charge after all of that, the problem is no longer something you can fix from the outside, and the next step is Apple Support or a service appointment.