How to Turn On Do Not Disturb on iPhone (iOS 26 Steps)
Do Not Disturb is a Focus, not a standalone switch. Here is the fastest way to turn it on, where to choose what still gets through, and how to put it on a schedule.

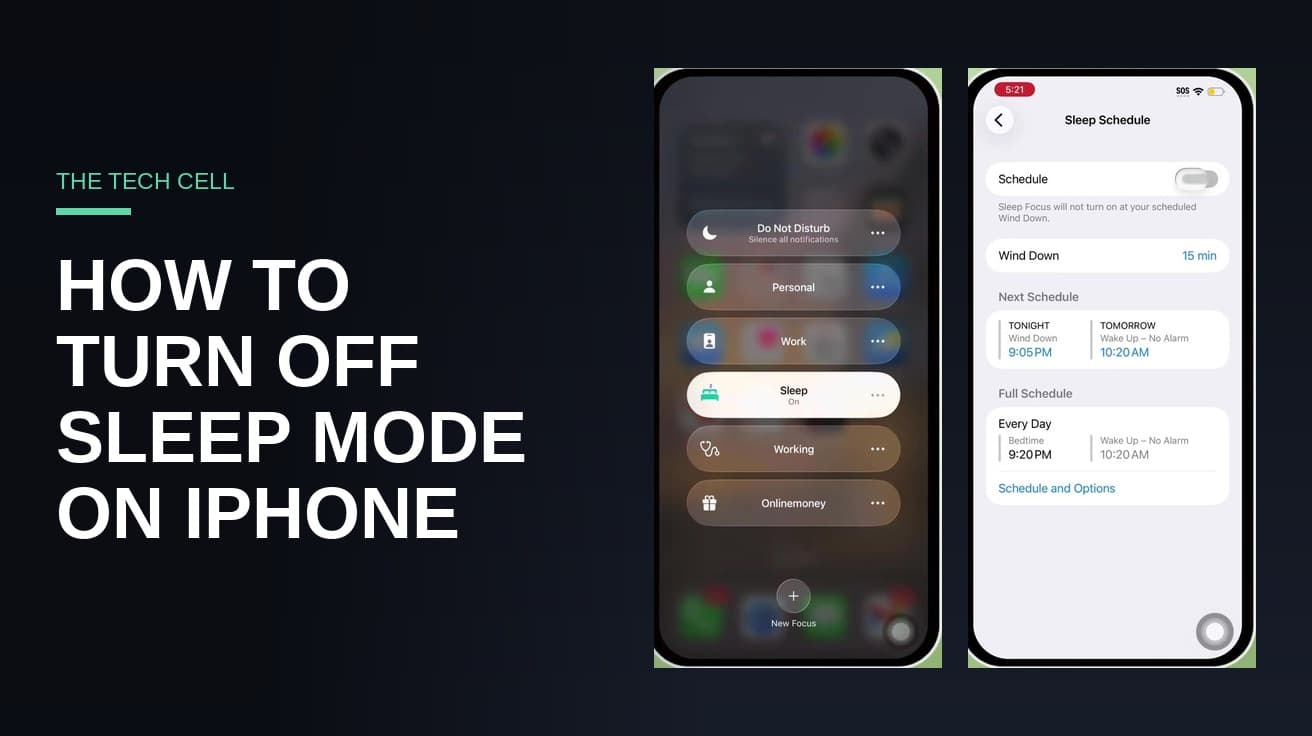
To turn on Do Not Disturb on iPhone, open Control Center, touch and hold the Focus button, then tap Do Not Disturb. A crescent moon appears in the status bar and your calls, alerts and notifications go silent. Settings > Focus > Do Not Disturb does the same job and is where you decide what still gets through.
Do Not Disturb stopped being a standalone switch in iOS 15. It is now one Focus among several, sitting alongside Personal, Work, Sleep, Driving and Reduce Interruptions. Only one Focus runs at a time, so switching Do Not Disturb on turns off whichever Focus was already active.
One thing to know before you flip it. If Share Across Devices is on in Settings > Focus, turning Do Not Disturb on here turns it on across every Apple device signed in to the same Apple Account. That is usually the point, but it does mean your iPad and Mac go quiet at the same moment.
Turn on Do Not Disturb on iPhone from Control Center
This is the two-tap route and the one worth learning. Everything else is a variation on it.
1. Open Control Center. On iPhone X and later, swipe down from the top-right corner of the screen. On iPhone SE, and iPhone 8 and earlier, swipe up from the bottom edge instead.

2. Touch and hold the Focus button. It is labelled Focus when no Focus is active, or with the name of whichever Focus is currently on.

3. Tap Do Not Disturb. The button now reads Do Not Disturb, and a crescent moon appears in the status bar and on your Lock Screen. That icon is the only confirmation you get, so it is worth knowing what to look for.

There is a shortcut inside the shortcut. If the Focus button already shows the Do Not Disturb icon, a single tap on that icon toggles it without opening the menu. Siri works too, and so does giving it an end time: tap the three dots beside Do Not Disturb in the Focus menu and pick an option such as For 1 hour, Until this evening, or Until I leave this location. That last one is the reason most people stop leaving Do Not Disturb on by accident for two days.
Where the setting lives in the Settings app
Control Center flips the switch. Settings is where you shape what the switch actually does.
4. Open Settings and scroll down to Focus. It sits between Sounds & Haptics and Screen Time.

5. Tap Do Not Disturb. You can turn it on from this screen, and everything below the toggle controls what happens while it is running.

Three things on this screen are worth a minute. Under Allow Notifications, People and Apps are your exception lists — anyone or anything you add here still comes through while everything else is silenced. Options covers whether silenced notifications appear on the Lock Screen. And on an iPhone that supports Apple Intelligence, Intelligent Breakthrough & Silencing lets the system judge which notifications are important enough to interrupt you; anything you have explicitly allowed or silenced stays allowed or silenced regardless.
Schedule Do Not Disturb to turn on by itself
If you turn it on at the same time every night, stop doing it by hand. On the Do Not Disturb screen, scroll to Set a Schedule and tap Add Schedule.

Apple documents three triggers: a Time, a Location such as when you arrive at work, and an App, so the Focus starts when you open something specific. The same sheet also offers Smart Activation, which turns Do Not Disturb on at what iOS judges to be relevant moments based on signals like your location and app usage. If Do Not Disturb keeps coming on when you did not ask for it, a schedule you set months ago is the usual culprit — this is the screen to check.
What turning on Do Not Disturb does not do
It does not block anybody. Calls and messages still arrive and still land in your notification list; they just do not ring, buzz or light up the screen. Nothing is rejected and nothing is deleted.
It does not silence your alarms. Apple is explicit about this: Do Not Disturb, the Ring/Silent switch and Silent mode do not affect the alarm sound. A Clock alarm will still wake you.
It does not hide you by default, and it does not hide you completely either way. Whether people see anything depends on Focus Status, which lives at Settings > Focus > Focus Status. With it on, someone who messages you sees that your notifications are silenced, and Apple's documentation notes they can still notify you if something is urgent. You can turn that off entirely, or per person from their contact card.
And it is not the same as Silent mode. The ring switch or Action button kills the sound; Do Not Disturb suppresses the interruption itself, including the screen lighting up. If it is a handful of specific numbers rather than everyone that you want quiet, blocking spam calls on iPhone is the more precise tool.
Common questions
Can calls get through anyway? Some can, by design. In the Do Not Disturb settings you can allow repeated calls — two or more calls from the same person within three minutes — and allow calls from silenced people. Separately, an individual contact can be given Emergency Bypass on their ringtone or text tone, which ignores your Focus settings entirely, and calls from your emergency contacts come through regardless.
Will the other person know? Only if Focus Status is switched on. It is a separate setting from Do Not Disturb itself, and turning one on does not turn on the other. If you would rather not broadcast anything, that is the toggle to check — the same instinct behind turning off read receipts on iPhone.
What about time-sensitive alerts? There is a Time Sensitive Notifications option in the Do Not Disturb settings that lets any app send a time-sensitive notification straight through. It is on the same screen as your People and Apps exception lists.
If Do Not Disturb isn't in Control Center
If the Focus button is missing from Control Center, add it back through Settings > Control Center. If the button is there but Do Not Disturb is not in its menu, the Focus itself has been deleted — go to Settings > Focus, tap the plus button at the top right, and set it up again. In the meantime, Settings > Focus > Do Not Disturb still works, and so does asking Siri.